ARTWORK: Artist @ VERYMANY
In Order to use the image in this tutorial you MUST purchase it from VERYMANYTUBES.COM
PSP 9 (Any Version Will Work)
SCRAP KIT: Queen Of Hearts from Hania
MASK: rieka mask no 4
TEMPLATE: tracy's template no 23
FONT: Aquarelle
Okay Lets Begin!
Open new canvas 550X550
Paste paper 4 as a new layer.
Activate your mask
Go to load/save mask
Load mask from disk
Find your mask and click load.
Open your template.
Paste them one by one.
Colorize to your liking with the paper of your choice.
Paste a tube of your choice as a new layer.
Place to your liking then paste your elements as a new layer.
Elements are
4
34
3
25
45
49
78
75
37
9
1
48
13
79
7
61
my sparkle
Pls resize to your liking.
Use my tag above as a guide.
I resize all my elements 30% to 50%
Dont forget to put drop shadow of choice to all layers.
Add your name and copyright info
Saved your tag as png.
You are done!
Thanks for trying my tutorial.
***Gorgeous Arie 2014***

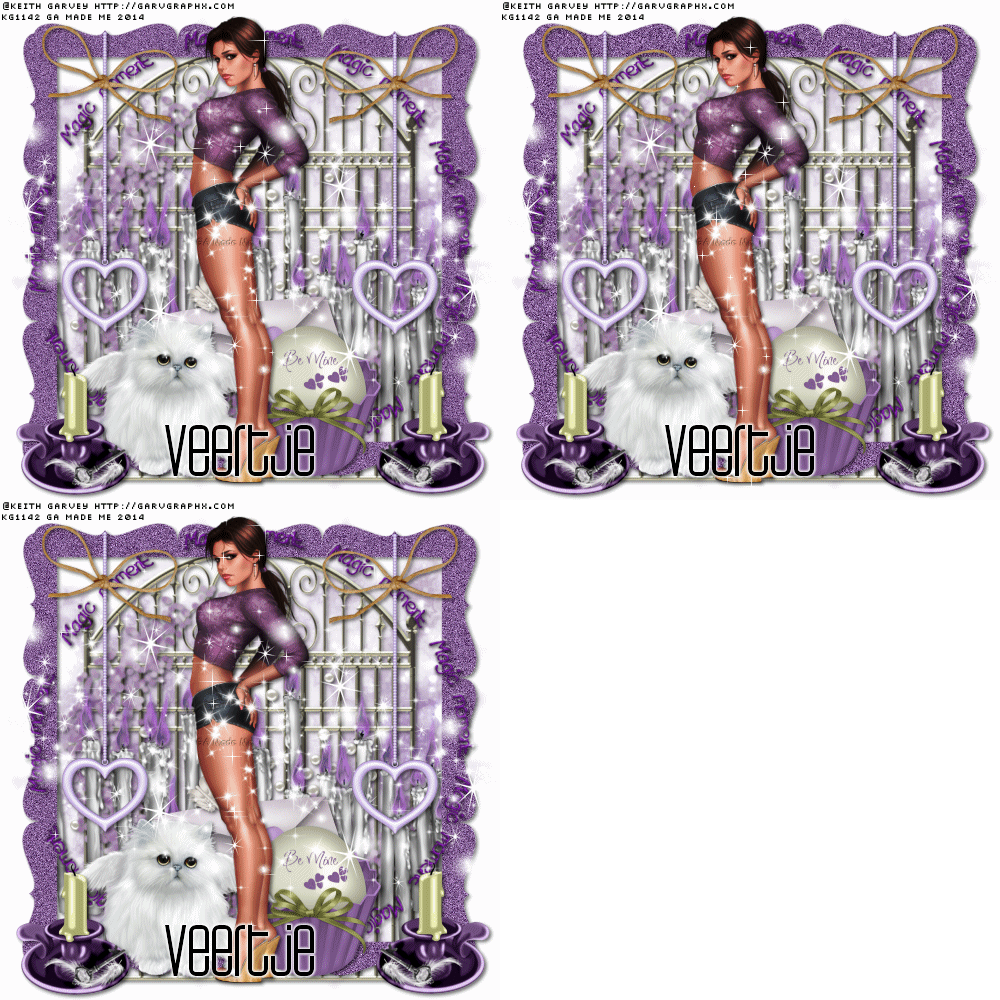
ARTWORK: Artist @ KEITH GARVEY
In Order to use the image in this tutorial you MUST purchase it from GARVGIRL
PSP 9 (Any Version Will Work)
SCRAP KIT: Kitty Angel from Hania
Mask: Rieka mask no 4
TEMPLATE: no template
FONT: Weltron
Okay Lets Begin!
Open new canvas 500X500
Paste paper 9 as a new layer.
Activate your mask
Go to load/save mask
Load mask from disk
Find your mask and click load.
Open your frame.
Paste them one by one.
Colorize to your liking with the paper of your choice.
Paste a tube of your choice as a new layer.
Place to your liking then paste your elements as a new layer.
Elements are
100
90
2
20
53
69
81
66
33
35
5
12
27
my sparkle
Pls resize to your liking.
Use my tag above as a guide.
I resize all my elements to 30%-50%
Dont forget to put drop shadow of choice to all layers.
Add your name and copyright info
Now will go for my animation sparkle thingy lol
Go to layer 3(frame) add noise gaussian 40 click ok
Go to layer 4(wording) vm sparkle setting is 20 click ok
Go to layer 6(tube) vm sparkle setting click ok
First layer save them as tag1gif.
Go to layer 3(frame) add noise gaussian 35 click ok
Go to layer 4(wording) vm sparkle setting is 25 click ok
Go to layer 6(tube) vm sparkle setting click ok
Second layer save them as tag2gif.
Go to layer 3(frame) add noise gaussian 30 click ok
Go to layer 4(wording) vm sparkle setting is 30 click ok
Go to layer 6(tube) vm sparkle setting click ok
Third layer save them as tag3gif.
Lastly open your tag view animation
Saved your tag as gif.
You are done!
Thanks for trying my tutorial.
***Gorgeous Arie 2014***

ARTWORK: Artist @ VERYMANY
In Order to use the image in this tutorial you MUST purchase it from VERYMANYTUBES.COM
PSP 9 (Any Version Will Work)
SCRAP KIT: Louisa from Hania
MASK: rieka mask no 4
TEMPLATE: no template
FONT: Aquarelle
Okay Lets Begin!
Open new canvas 550X550
Paste paper 9 as a new layer.
Activate your mask
Go to load/save mask
Load mask from disk
Find your mask and click load.
Open your frame.
Paste them one by one.
Colorize to your liking with the paper of your choice.
Paste a tube of your choice as a new layer.
Place to your liking then paste your elements as a new layer.
Elements are
115
61
22
50
109
24
79
11
16
9
91
49
39
87
56
92
my sparkle
Pls resize to your liking.
Use my tag above as a guide.
I resize all my elements 30% to 50%
Dont forget to put drop shadow of choice to all layers.
Add your name and copyright info
Saved your tag as png.
You are done!
Thanks for trying my tutorial.
***Gorgeous Arie 2014***
ARTWORK: Artist @ VERYMANY
In Order to use the image in this tutorial you MUST purchase it from VERYMANYTUBES.COM
PSP 9 (Any Version Will Work)
SCRAP KIT: Happy New Year from Hania
MASK: rieka mask no 4
TEMPLATE: missy's template no 378
FONT: Weltron
Okay Lets Begin!
Open new canvas 550X550
Paste paper 1 as a new layer.
Activate your mask
Go to load/save mask
Load mask from disk
Find your mask and click load.
Open your template.
Paste them one by one.
Colorize to your liking with the paper of your choice.
Paste a tube of your choice as a new layer.
Place to your liking then paste your elements as a new layer.
Elements are
13
14
23
22
40
65
82
24
28
41
66
81
7
55
my sparkle
Pls resize to your liking.
Use my tag above as a guide.
I resize all my elements 30% to 50%
Dont forget to put drop shadow of choice to all layers.
Add your name and copyright info
Saved your tag as png.
You are done!
Thanks for trying my tutorial.
***Gorgeous Arie 2014***